Create Webhooks
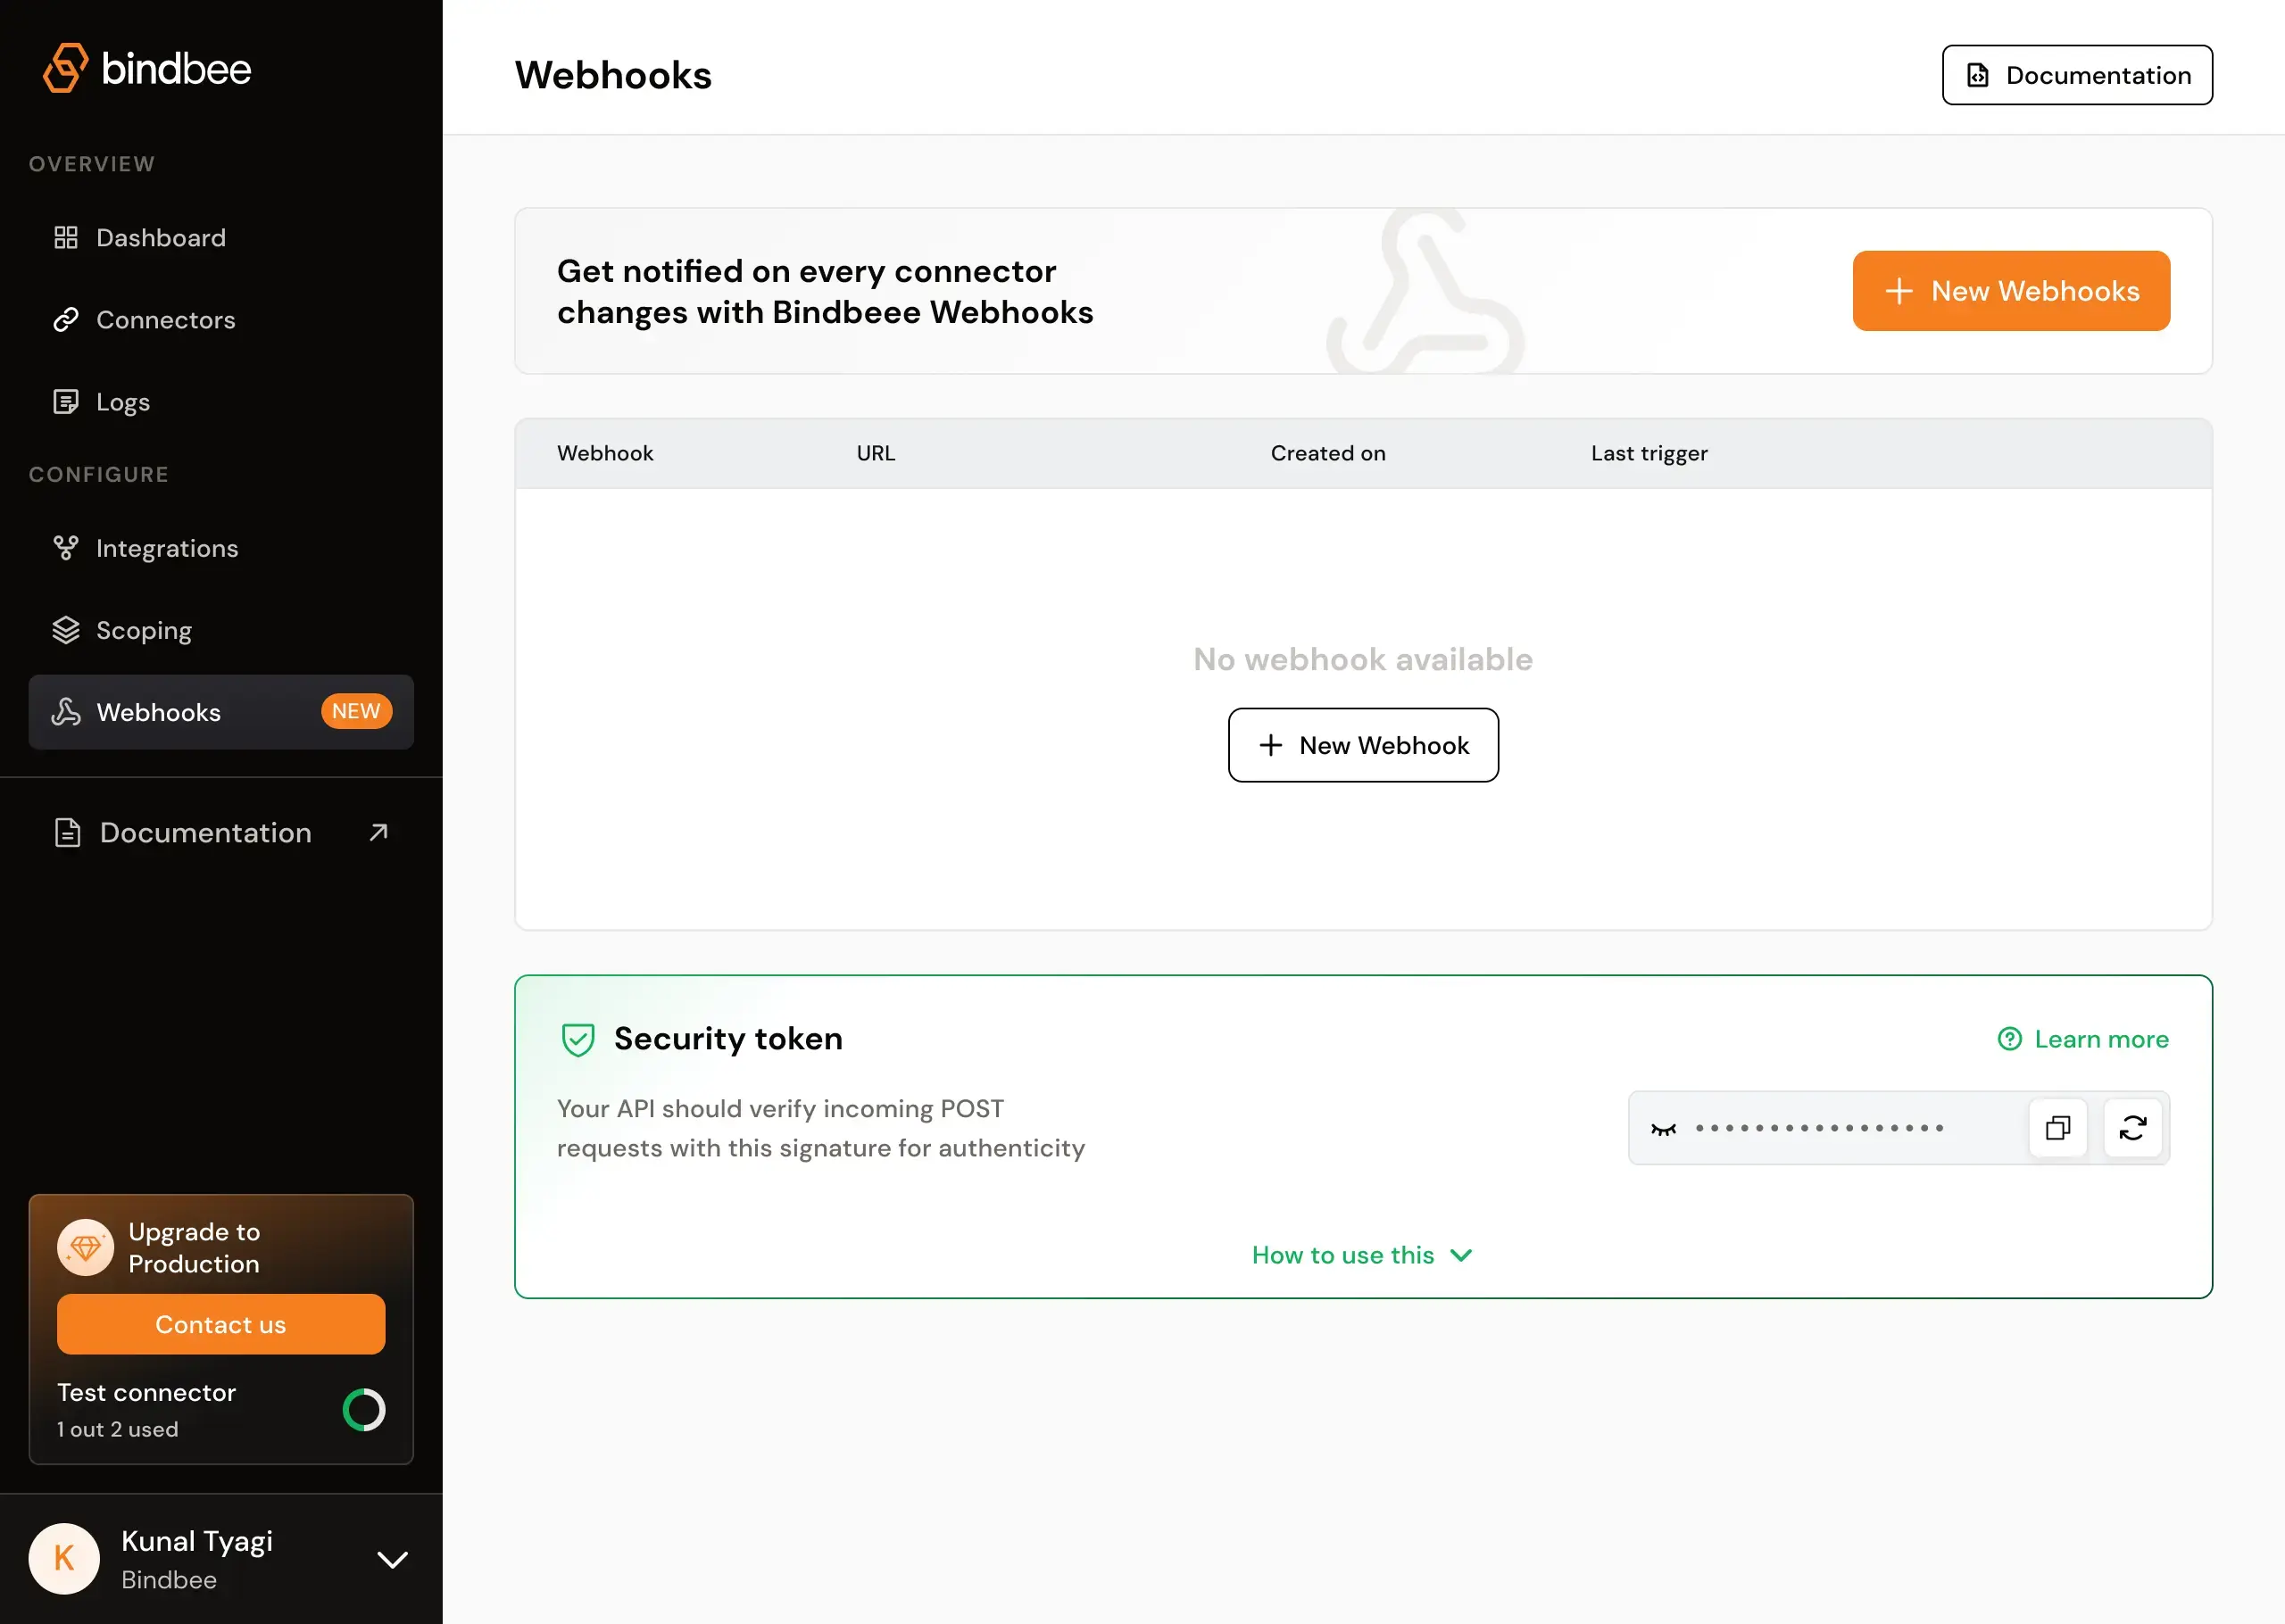
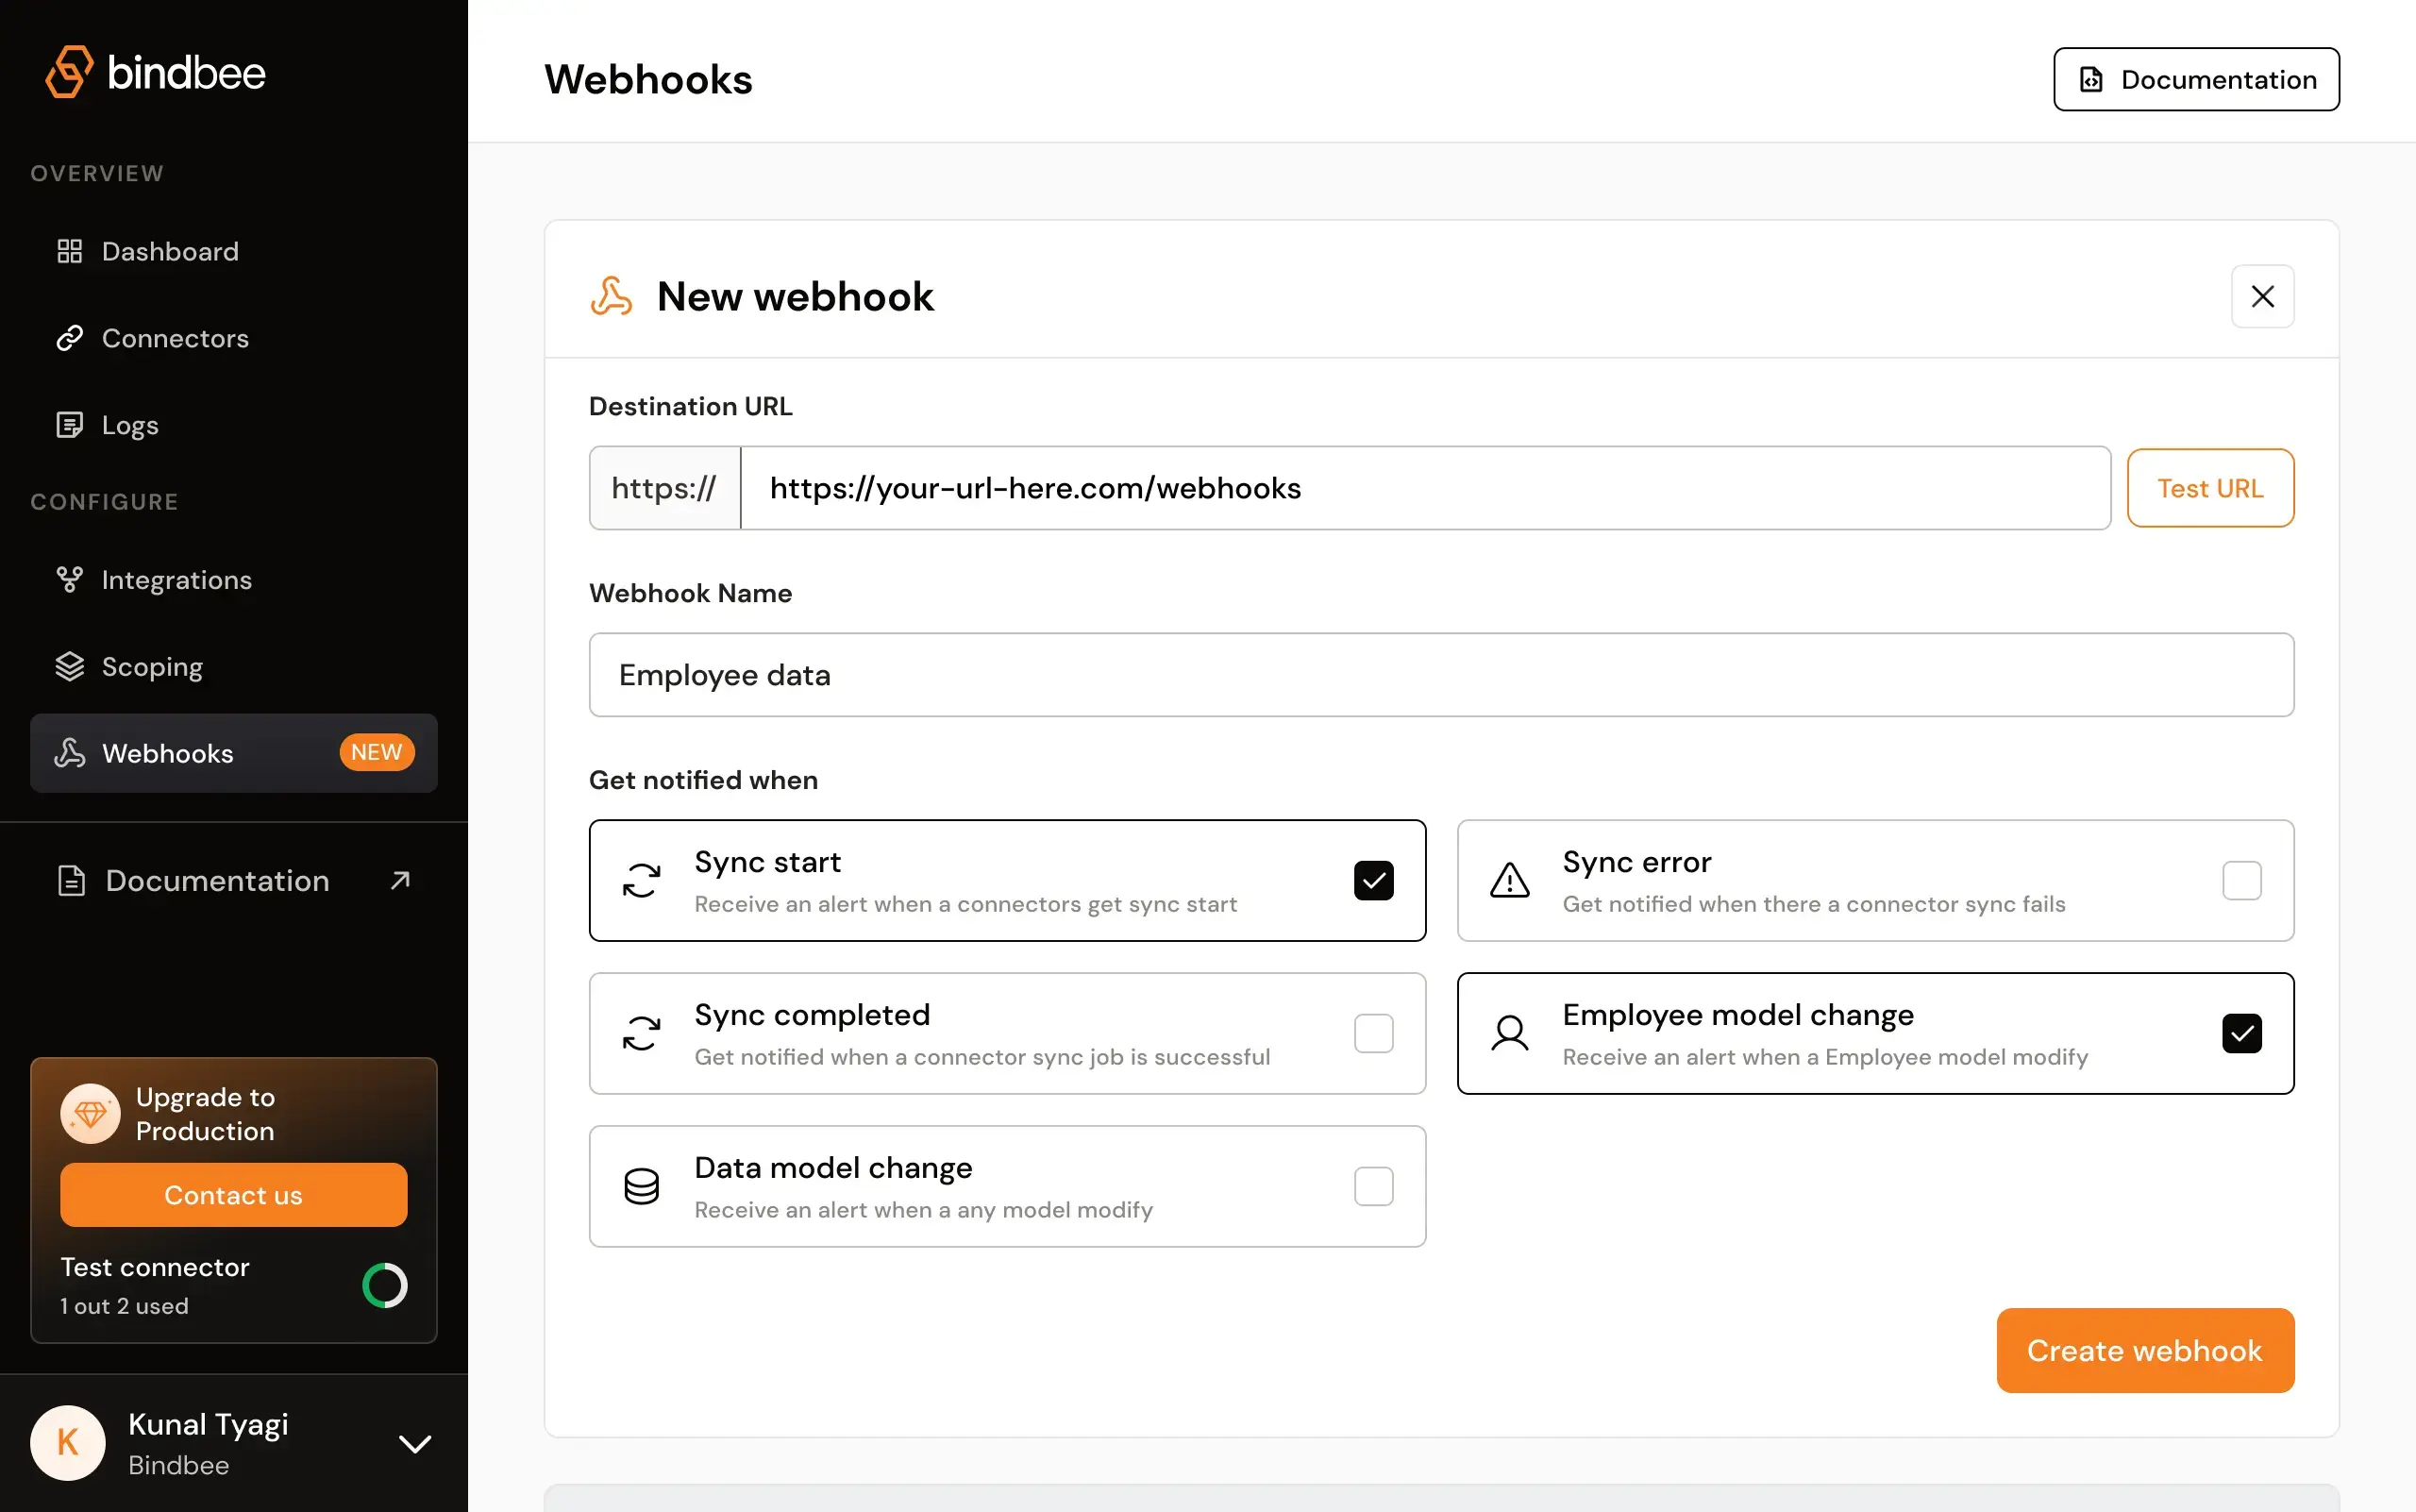
To create webhooks follow the intructions up ahead! Step 1: Navigate to the “Webhooks” section from the sidebar under the “Configure” menu. Step 2: In the “New webhook” section, enter the destination URL where you want to receive the webhook notifications in the “Destination URL” field.
 Step 3: Optionally, click the “Test URL” button to ensure that your destination URL is correctly set up and can receive test data.
Step 4: Provide a meaningful name for your webhook in the “Webhook Name” field. For example, “Employee data.”
Step 5: Choose the events for which you want to receive notifications by selecting the appropriate checkboxes:
- Sync start: Receive an alert when a connector’s sync starts.
- Sync error: Get notified when a connector sync fails.
- Sync completed: Get notified when a connector sync job is successful.
- Employee model change: Receive an alert when any employee data is modified.
- Data model change: Receive an alert when any data model is modified.
Payload Properties
hook: The webhook that was triggered.connector: The connector whose data has changed.data: The affected data model.
Webhook event types
- Connector Sync Started
- Connector Synced
- Connector Sync Error
- Employee Data Changed
- Connector Data Modified
Sample payload for webhook events
- Connector Sync Started
- Connector Synced
- Connector Sync Error
- Employee Data Changed
- Connector Data Modified
Recieve an alert when the connector sync starts
Security
To secure your API endpoint, ensure it verifies that POST requests are genuinely from Bindbee and not from a malicious source, and that payloads haven’t been tampered with during transit. You can achieve this by checking if theX-Bindbee-Webhook-Signature field in the request header matches an encoded combination of your organization’s unique webhook signature and the payload of the incoming request.
In the Webhooks configuration page, you should find a Security section where you can access your signature key. This key is unique to your organization and can be regenerated if it becomes known to an unauthorized party.
