> ## Documentation Index
> Fetch the complete documentation index at: https://docs.bindbee.dev/llms.txt
> Use this file to discover all available pages before exploring further.
# Platform
> See what each area of the Bindbee Dashboard does.
## Dashboard
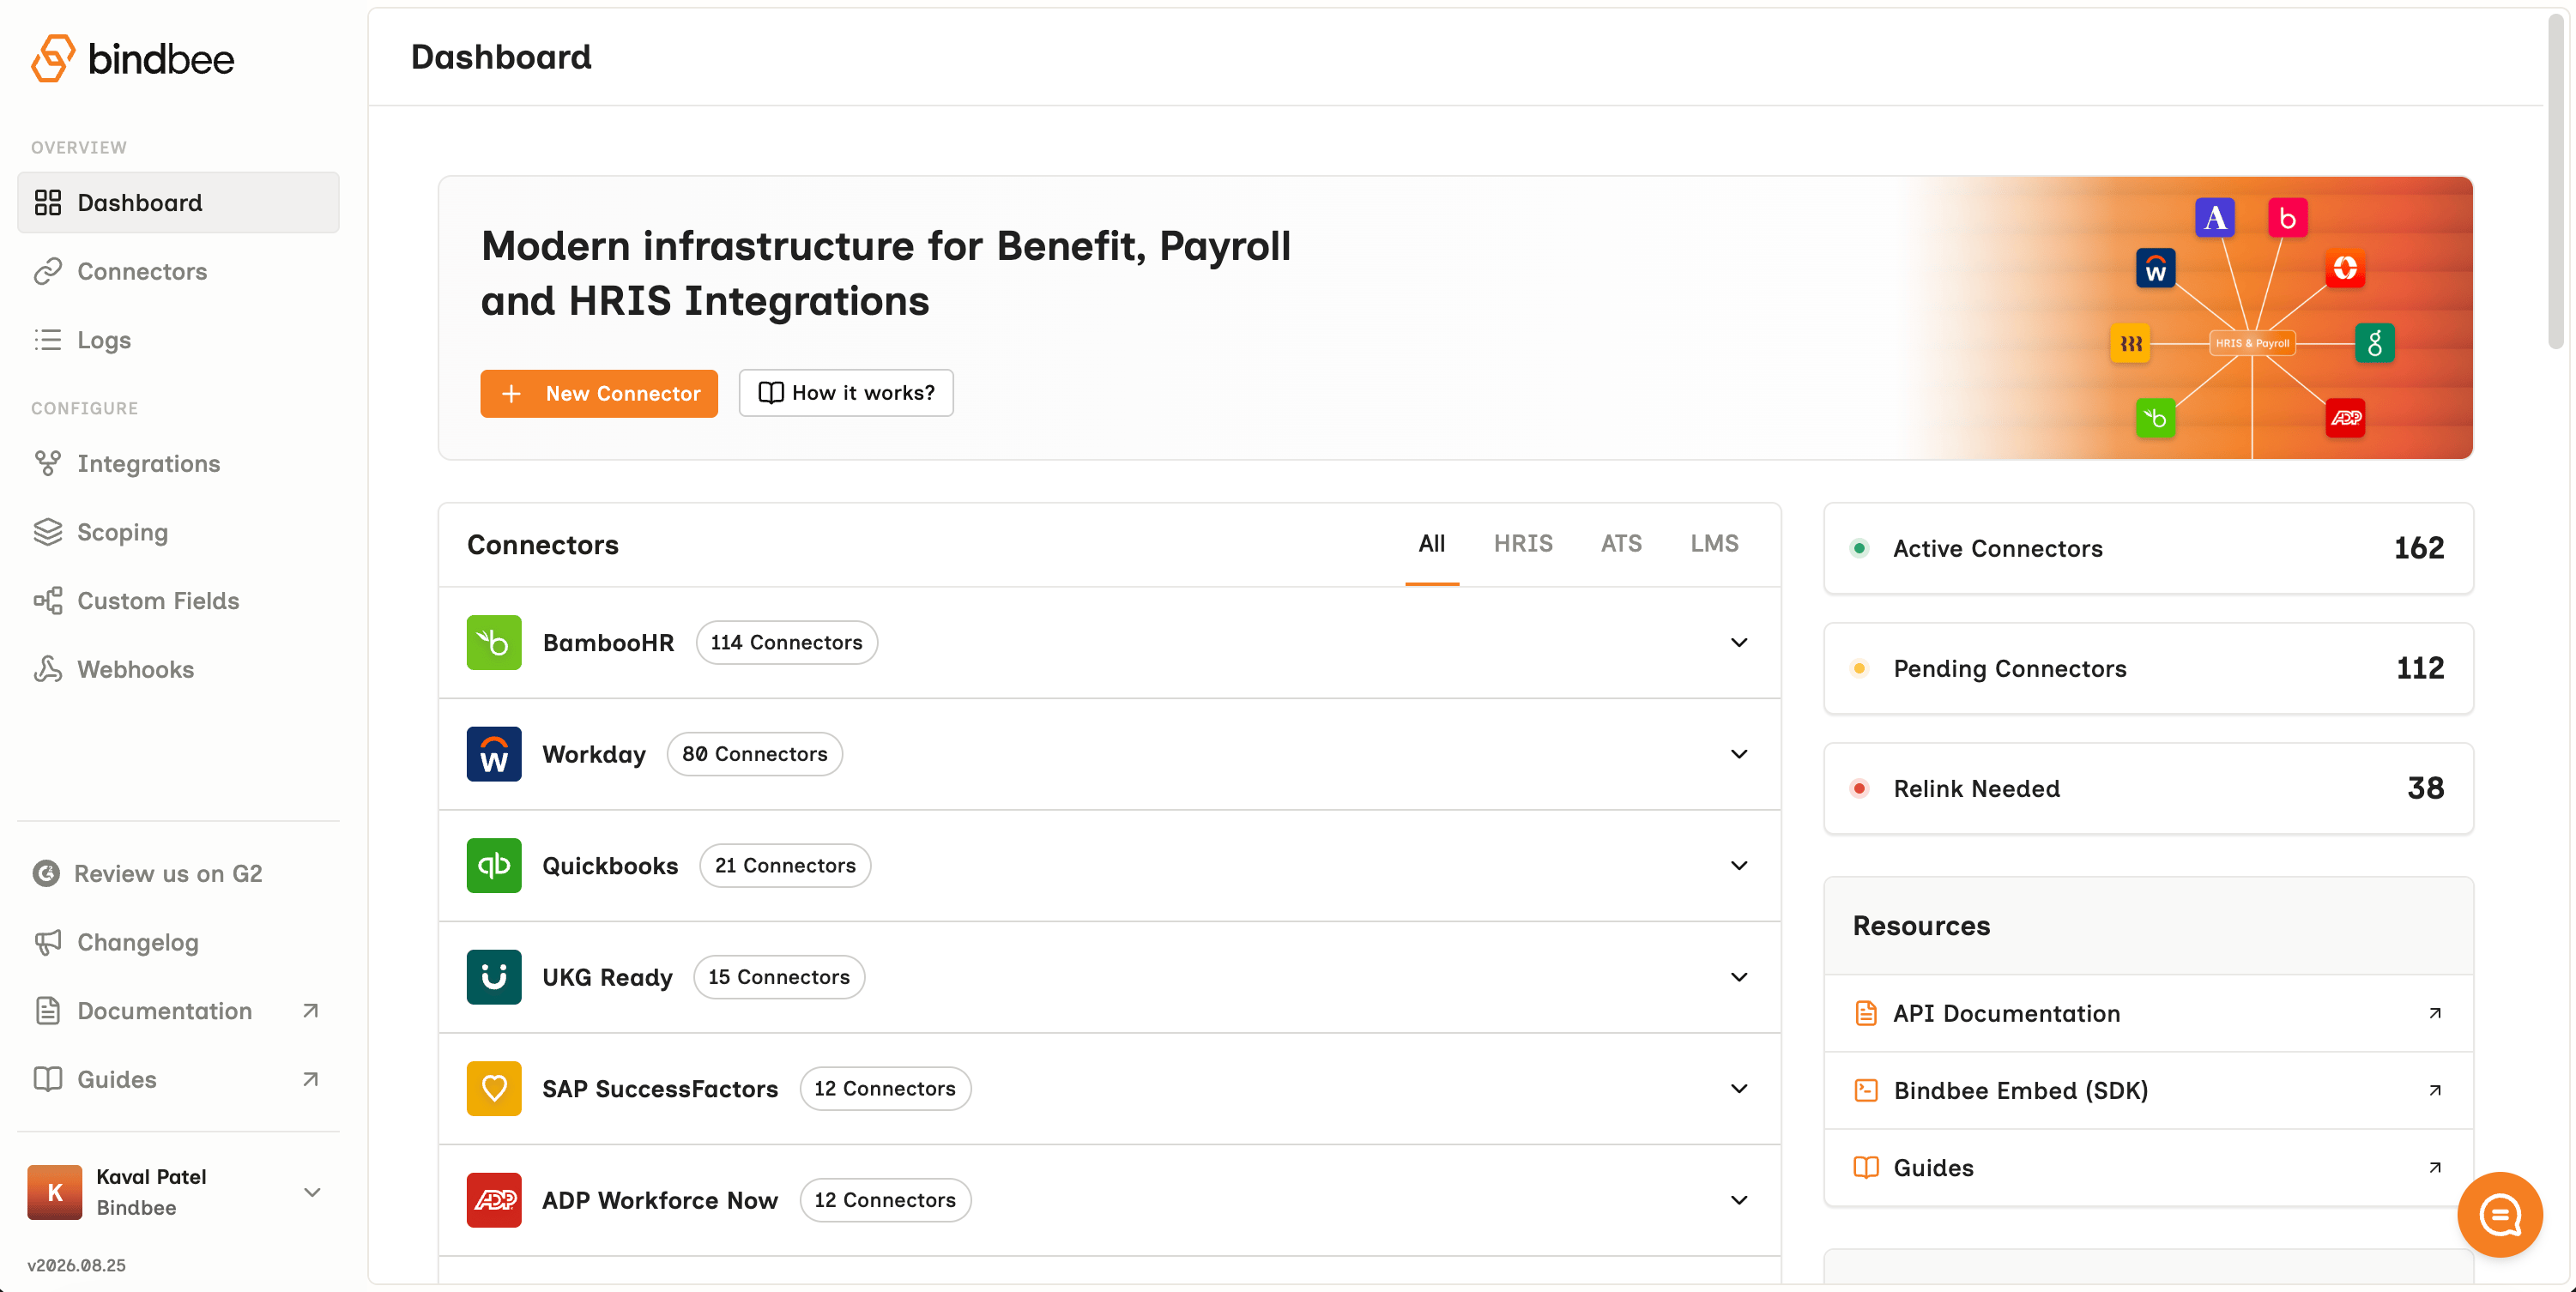
What you land on after signing in. Connectors are grouped by integration with a count each, so you can see how many of your customers are on BambooHR versus Workday, and narrow to one category with the **All / HRIS / ATS / LMS** tabs.
 ***
## Magic Link
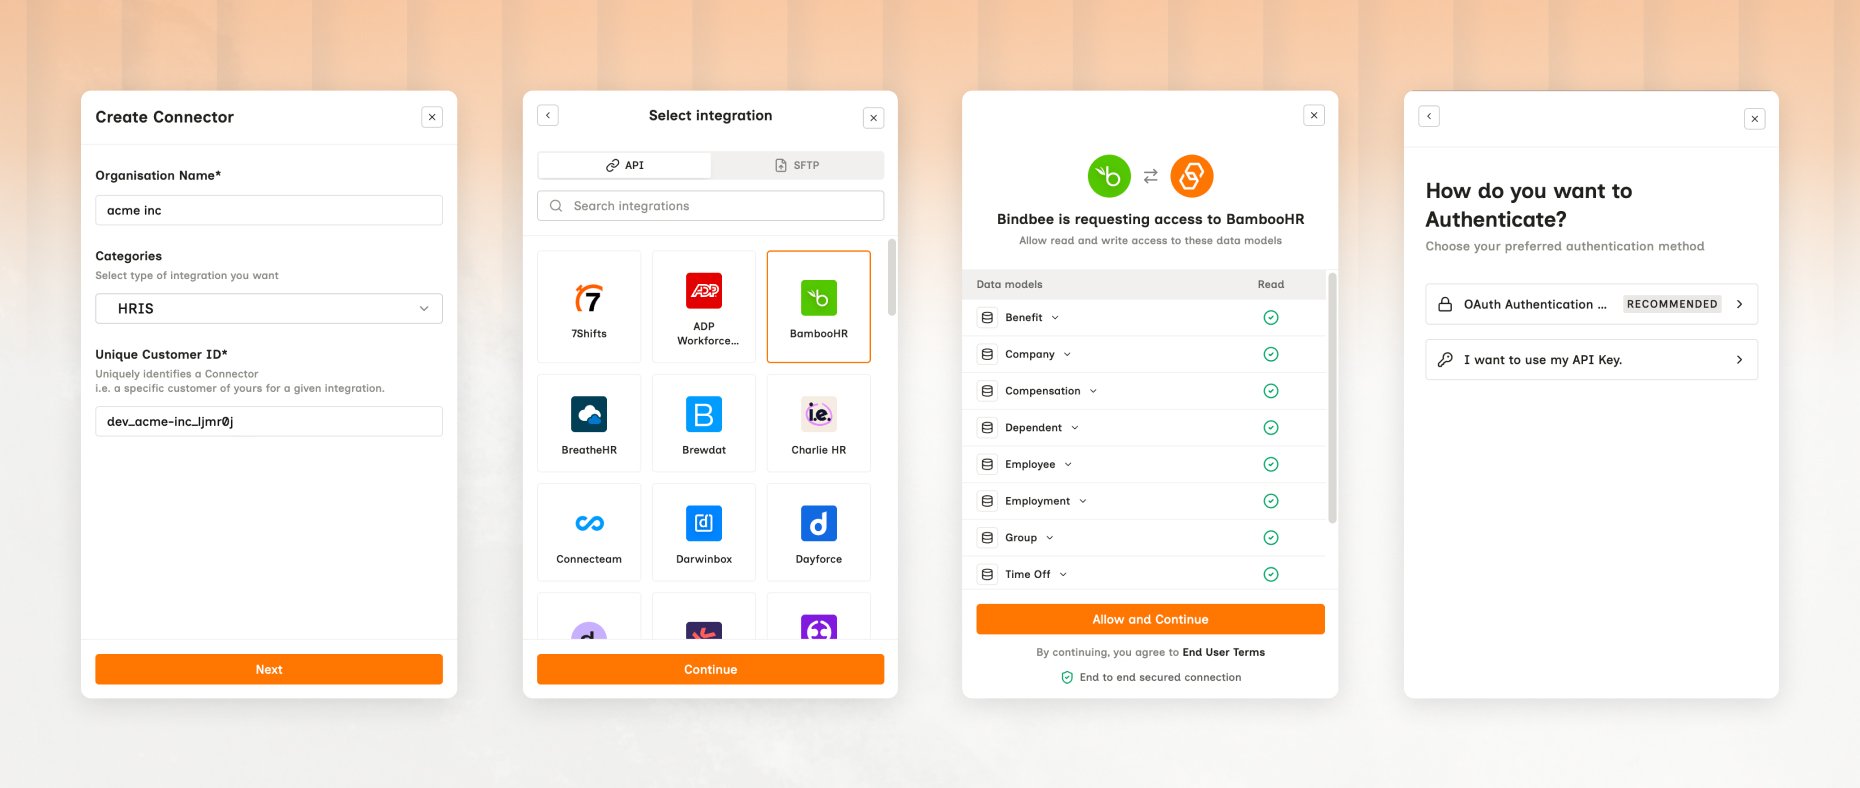
A connection page Bindbee hosts for you. Send it to whoever runs your customer's HR system; they sign in and approve access, and the connector is created. **Their credentials never pass through your product**, and you don't build any of these screens.
See [How to connect](/get-started/how-to-connect) for this and the other route.
***
## Magic Link
A connection page Bindbee hosts for you. Send it to whoever runs your customer's HR system; they sign in and approve access, and the connector is created. **Their credentials never pass through your product**, and you don't build any of these screens.
See [How to connect](/get-started/how-to-connect) for this and the other route.
 ***
## Connectors
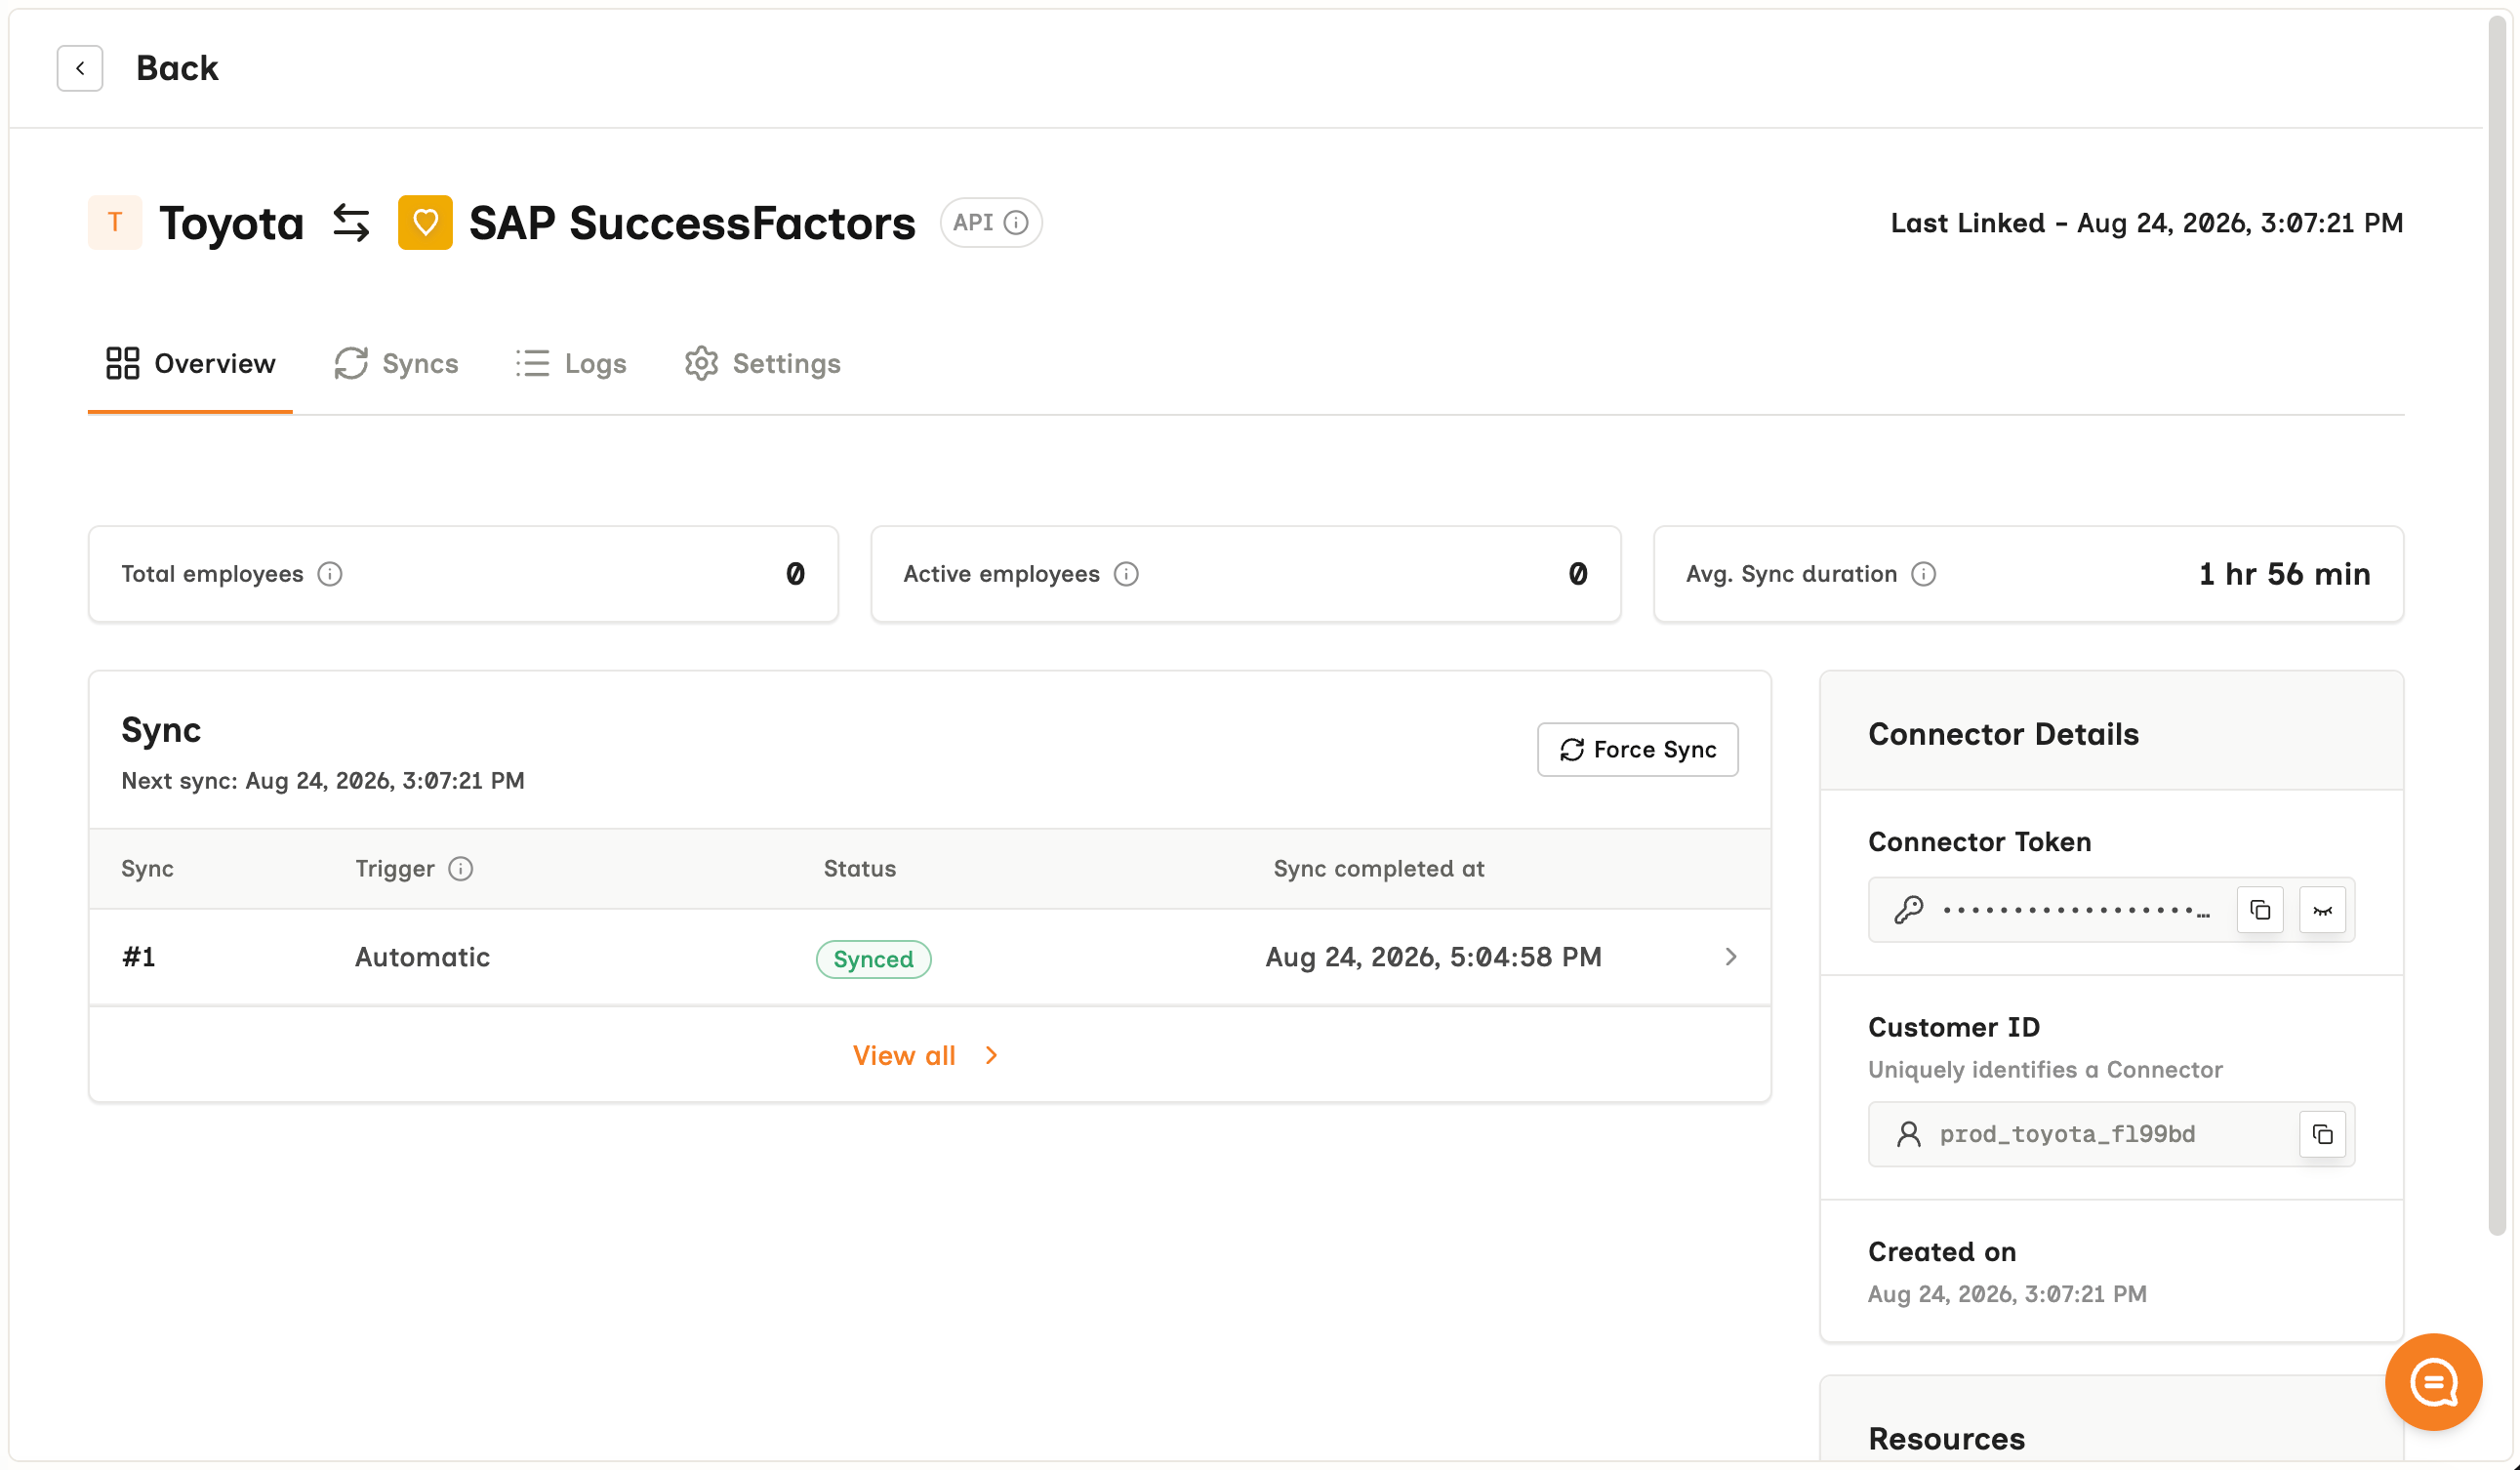
A connector is one customer's authorized link to one third-party system - **one connector = per customer, per system.** Find them under **Connectors**, with separate **Development** and **Production** tabs.
***
## Connectors
A connector is one customer's authorized link to one third-party system - **one connector = per customer, per system.** Find them under **Connectors**, with separate **Development** and **Production** tabs.
 ***
## Logs
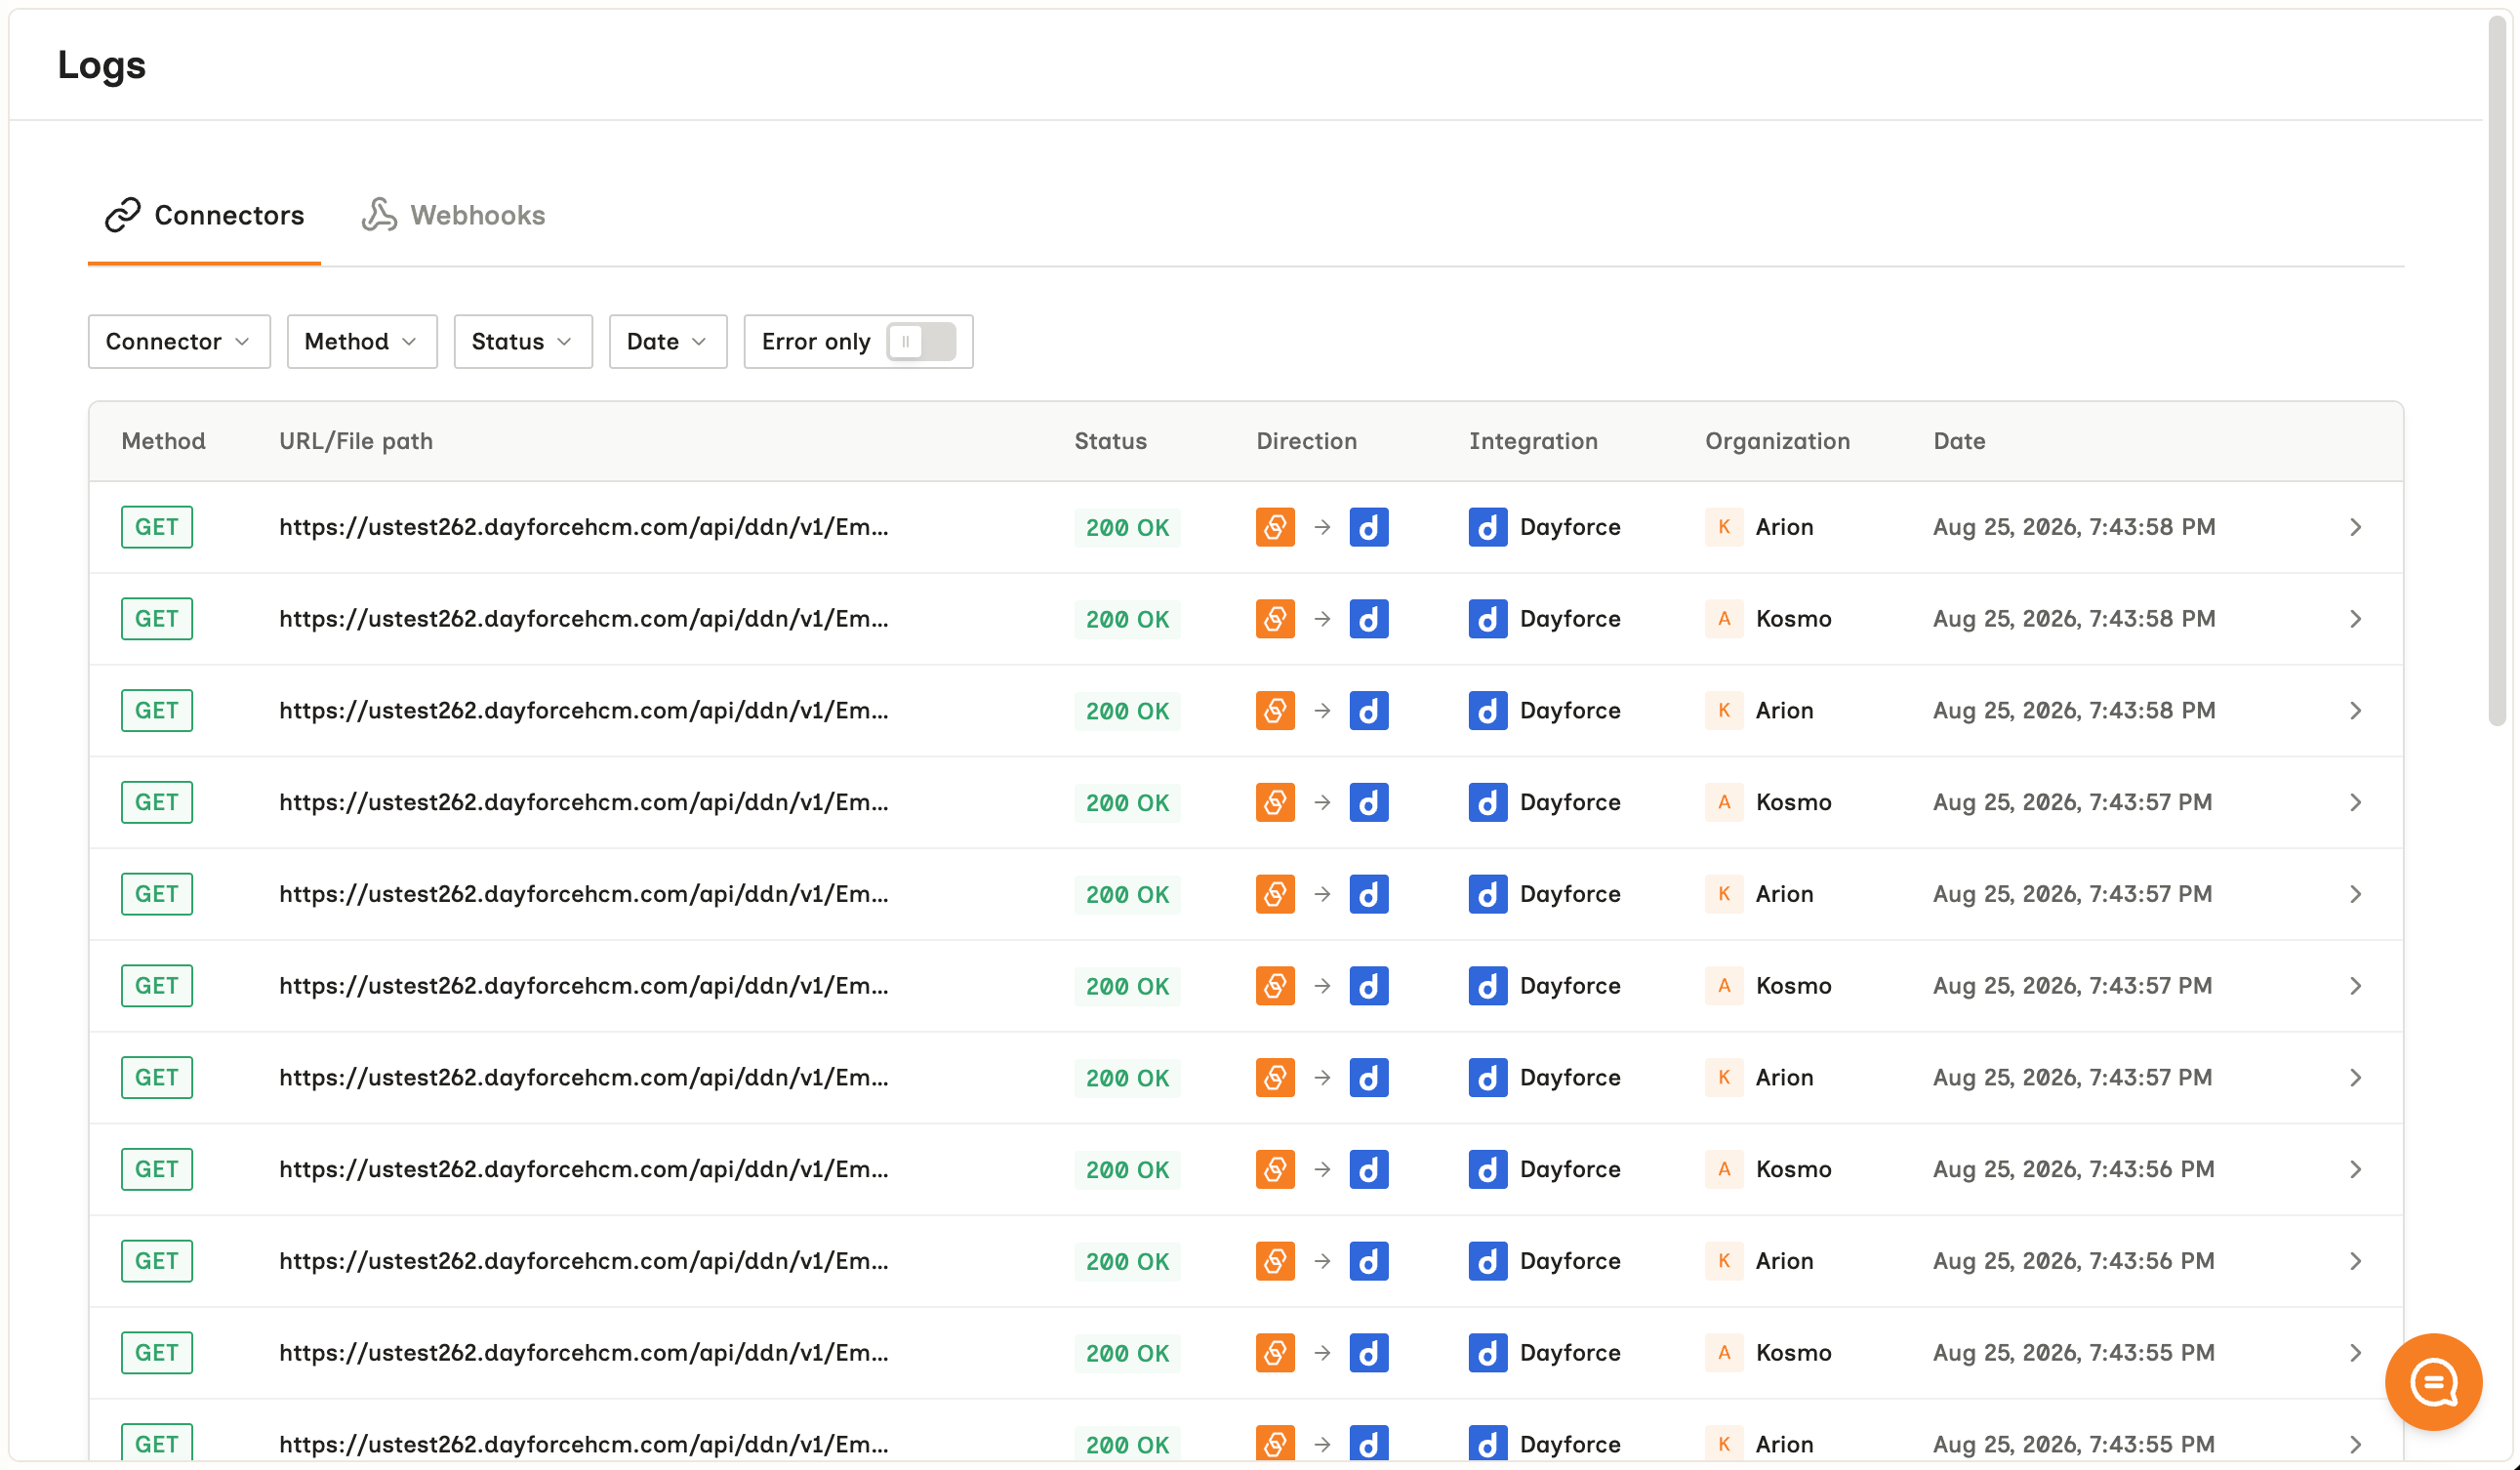
Every request and response, per connector, with the source system's own error preserved. Open **Logs**, or reach one connector's logs from its own page.
When a sync misbehaves this is the first place to look - see [Logs](/guides/troubleshooting/logs).
***
## Logs
Every request and response, per connector, with the source system's own error preserved. Open **Logs**, or reach one connector's logs from its own page.
When a sync misbehaves this is the first place to look - see [Logs](/guides/troubleshooting/logs).
 ***
## Custom Fields
Where you define values the unified model does not carry and map them out of the source system's own payload.
Learn more on [Custom Fields](/guides/extending/custom-fields).
***
## Custom Fields
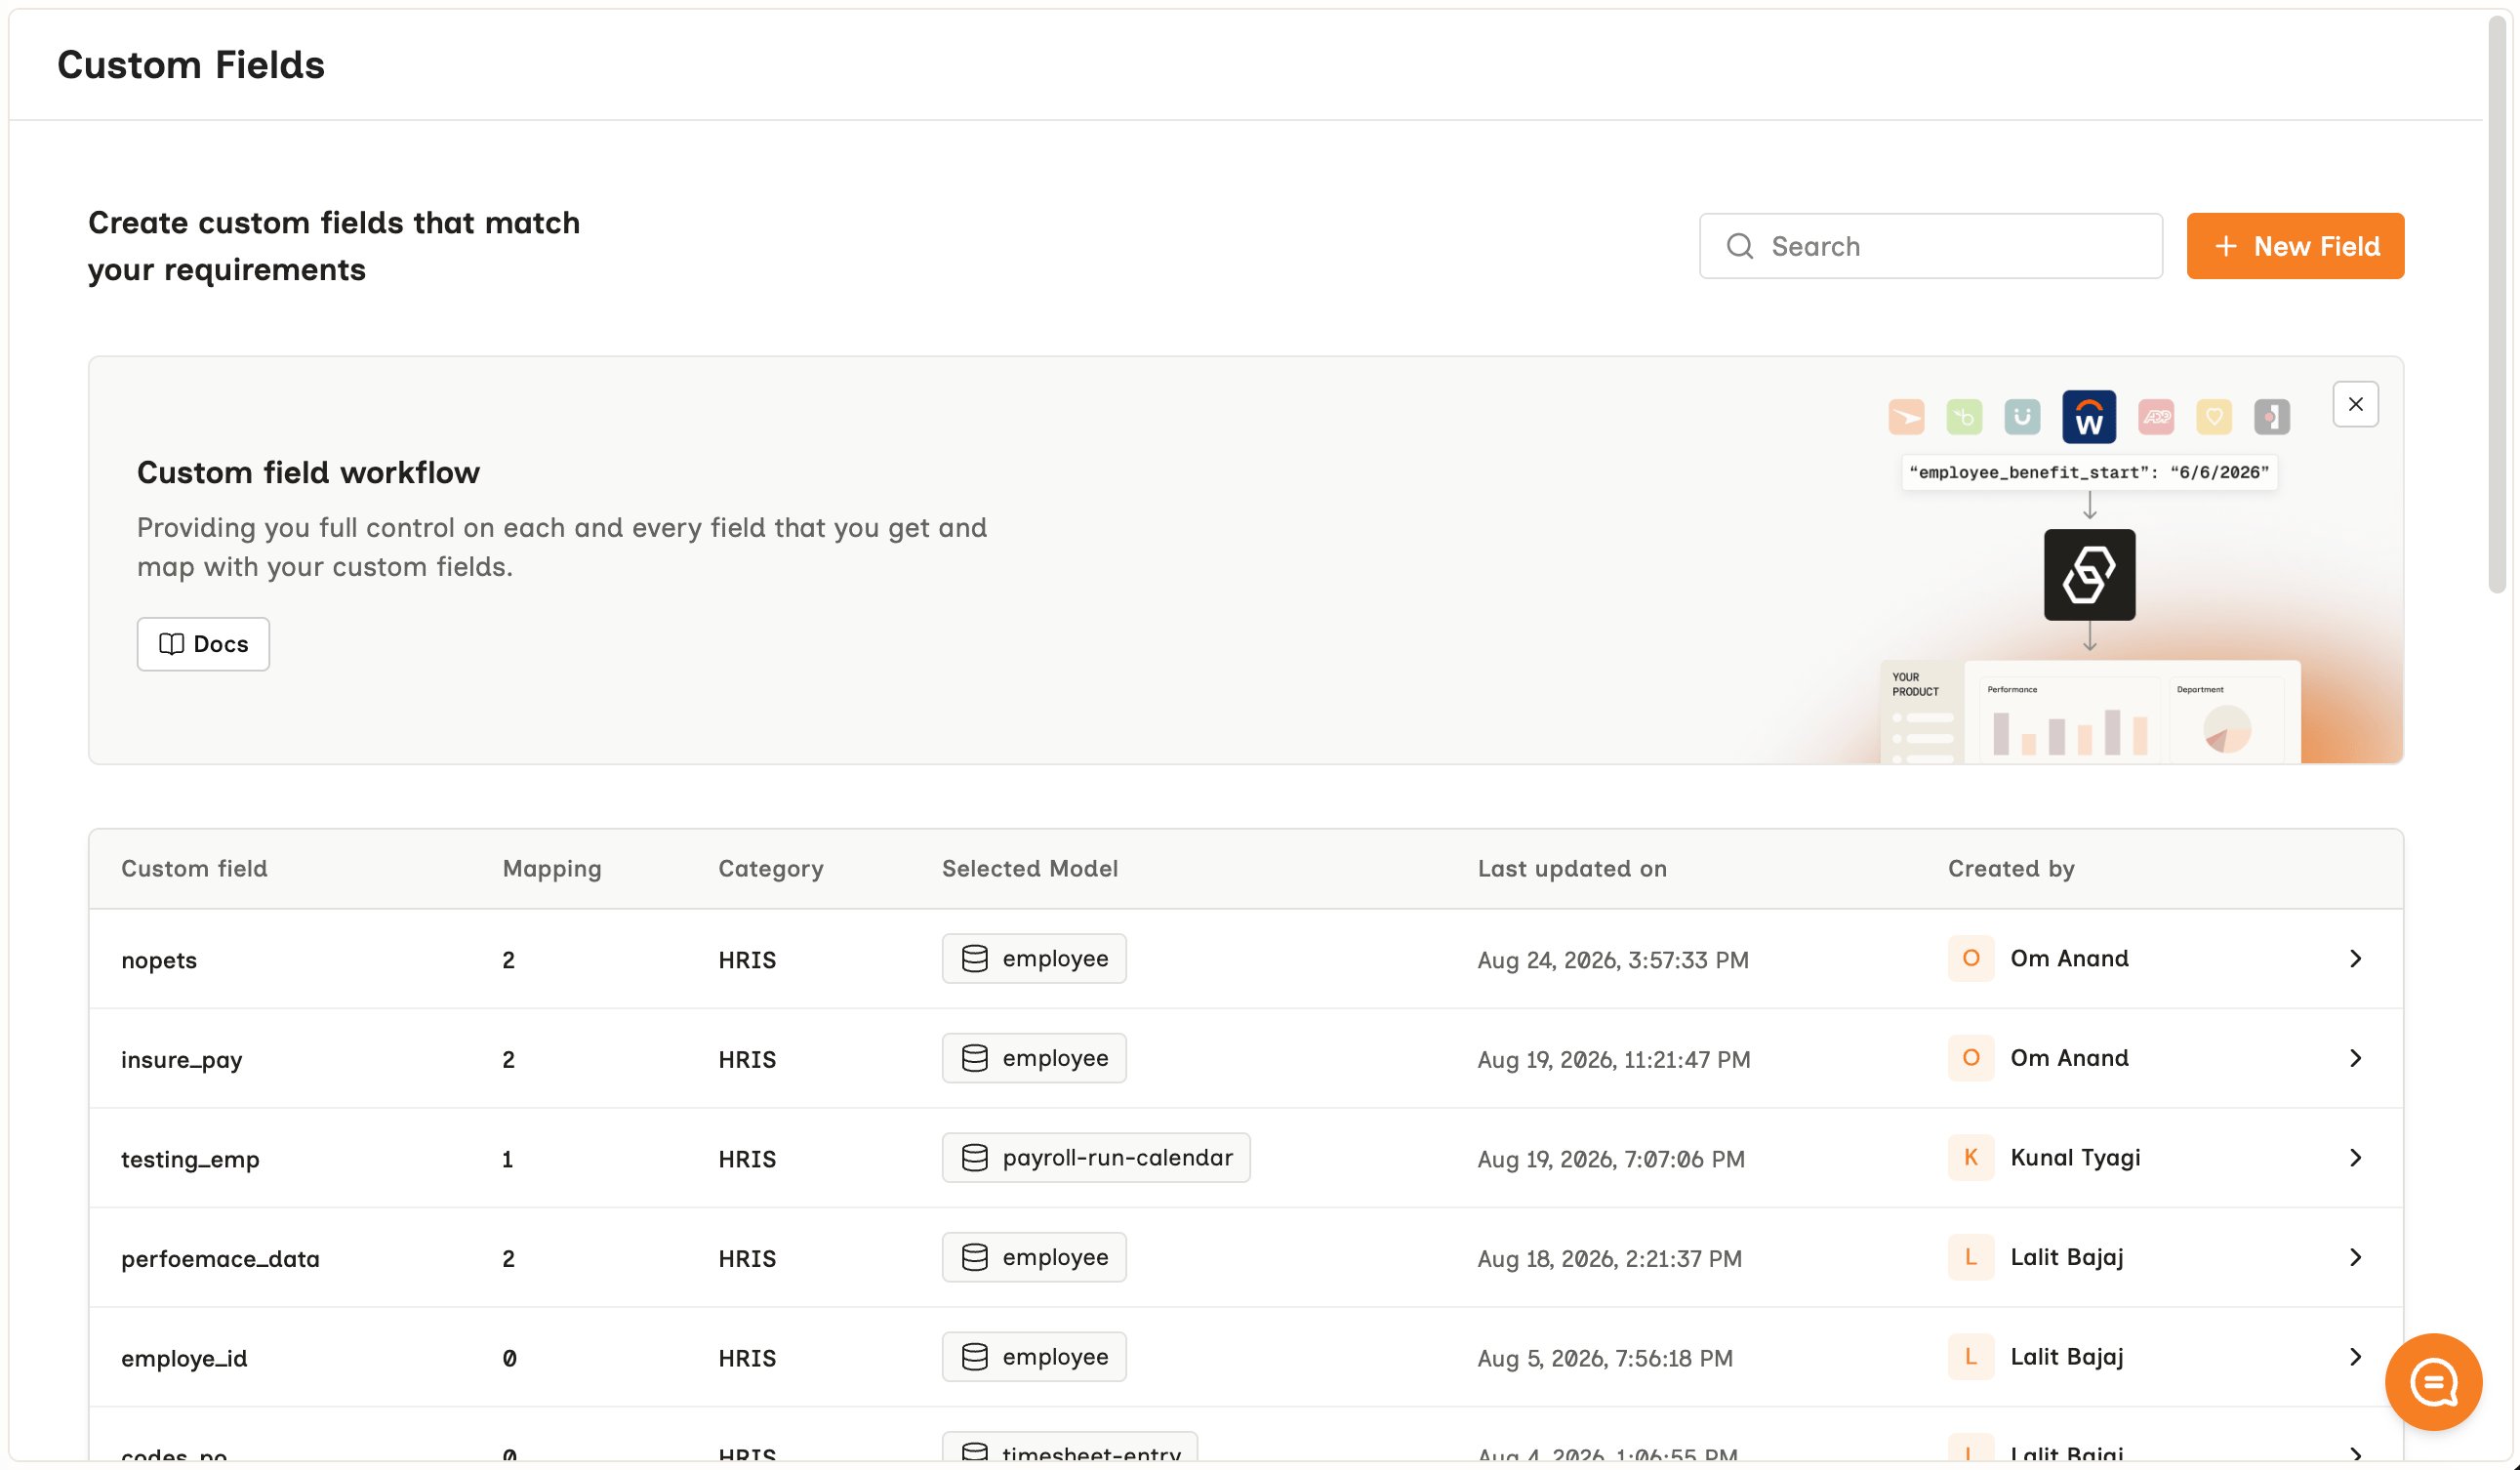
Where you define values the unified model does not carry and map them out of the source system's own payload.
Learn more on [Custom Fields](/guides/extending/custom-fields).
 ***
## Webhooks
Where you register a destination URL, choose which events reach it, and find the signing key.
See [Webhook](/guides/reading-writing/webhooks).
***
## Webhooks
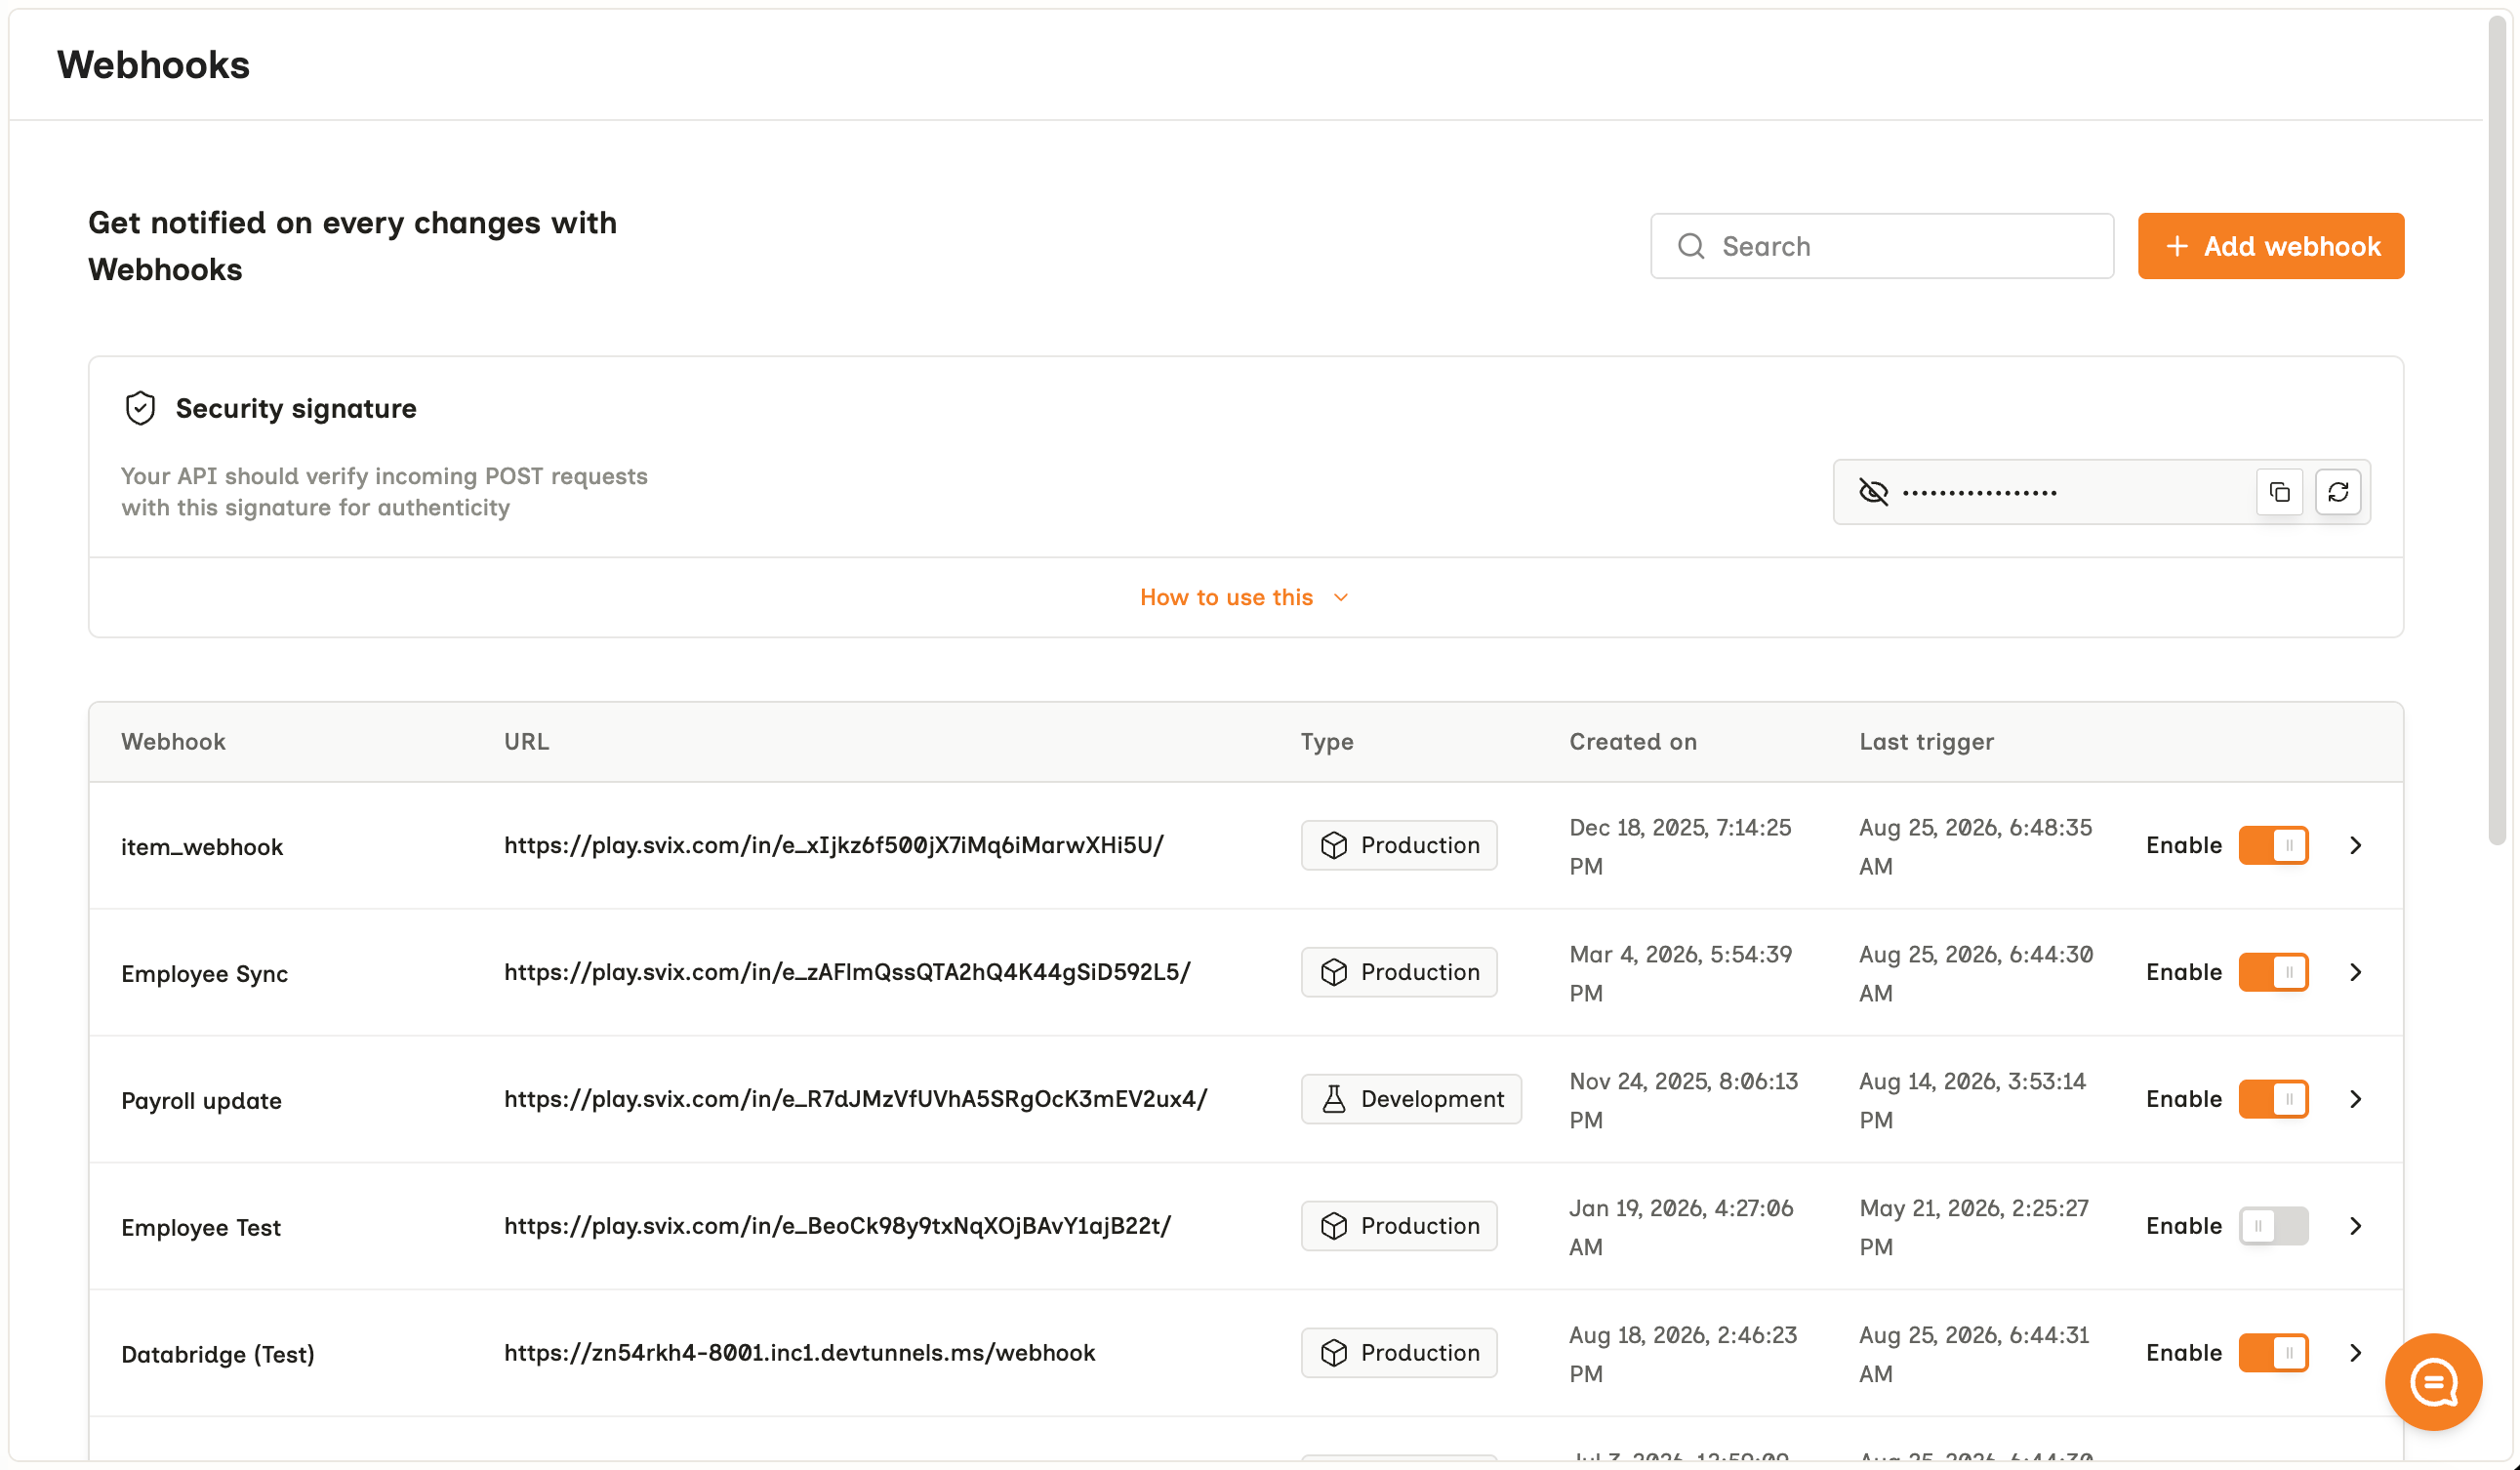
Where you register a destination URL, choose which events reach it, and find the signing key.
See [Webhook](/guides/reading-writing/webhooks).
 ***
## Changelog
What has changed in the Bindbee platform - new integrations, new models and fields, and behavior changes worth knowing about before they reach your connectors.
***
## Changelog
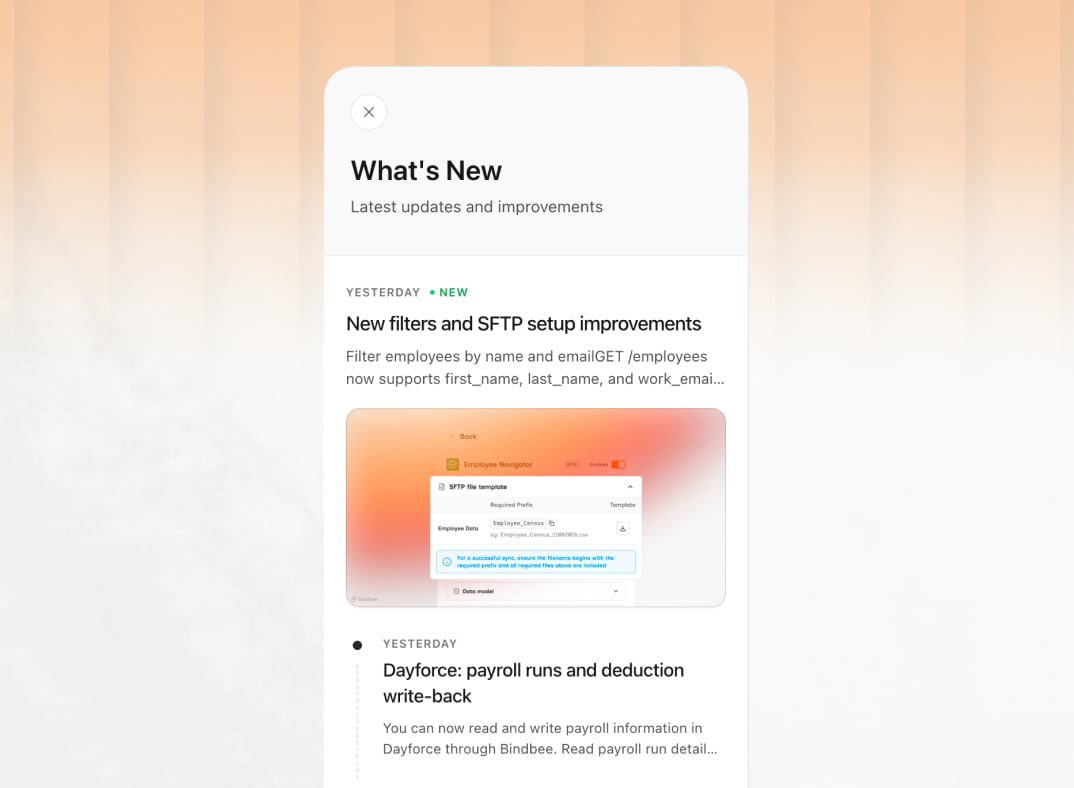
What has changed in the Bindbee platform - new integrations, new models and fields, and behavior changes worth knowing about before they reach your connectors.
 ***
## Where to next
The two ways a connector gets created - a hosted Magic Link, or the Embedded SDK.
Authentication, pagination, rate limits and sync frequency.
***
***
## Where to next
The two ways a connector gets created - a hosted Magic Link, or the Embedded SDK.
Authentication, pagination, rate limits and sync frequency.
***